FLEX-C-MENT
NEW & IMPROVED FORMULA
Our "Overlay System" is in a league of its own! In the multi-billion dollar industry of concrete restoration and beautification, you will not find any other product that comes closer to the beauty and functionality of Decorcem "Overlay System".
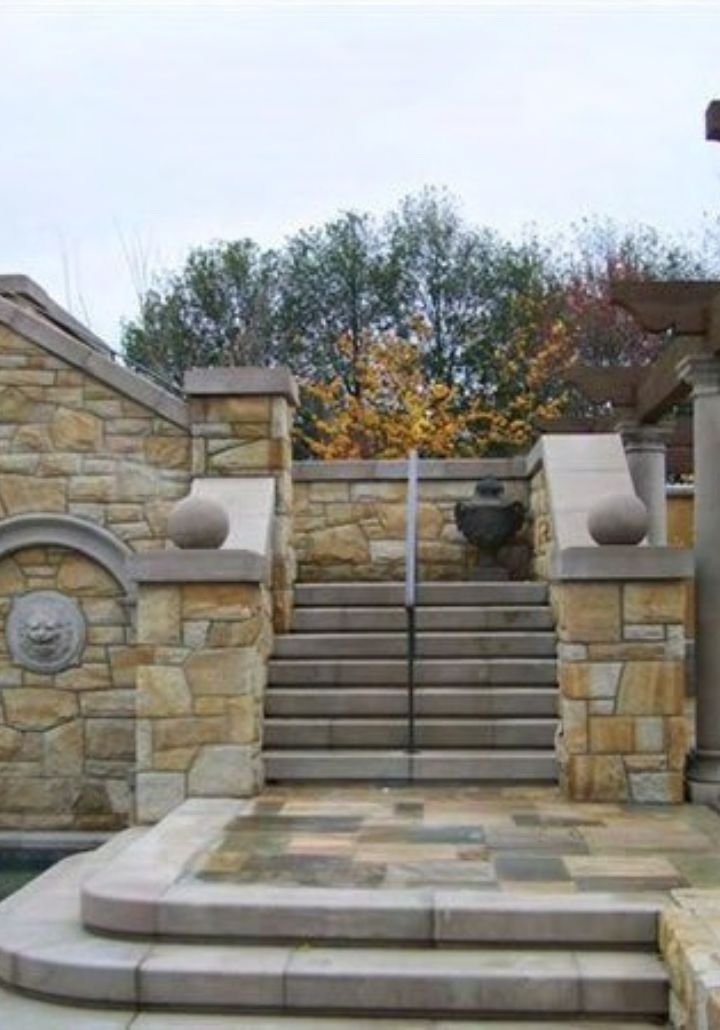
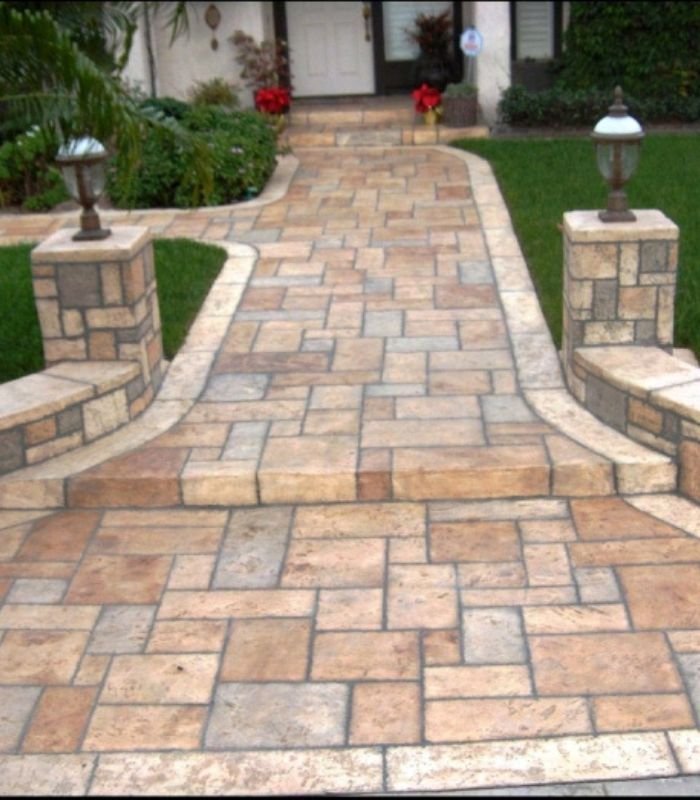
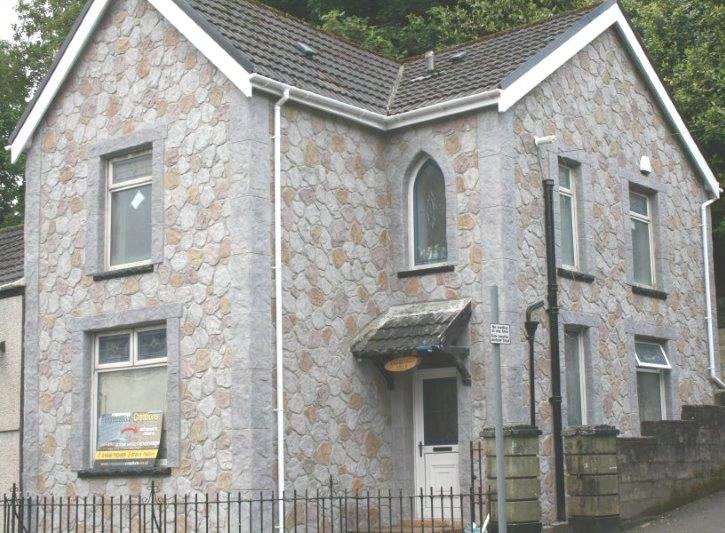
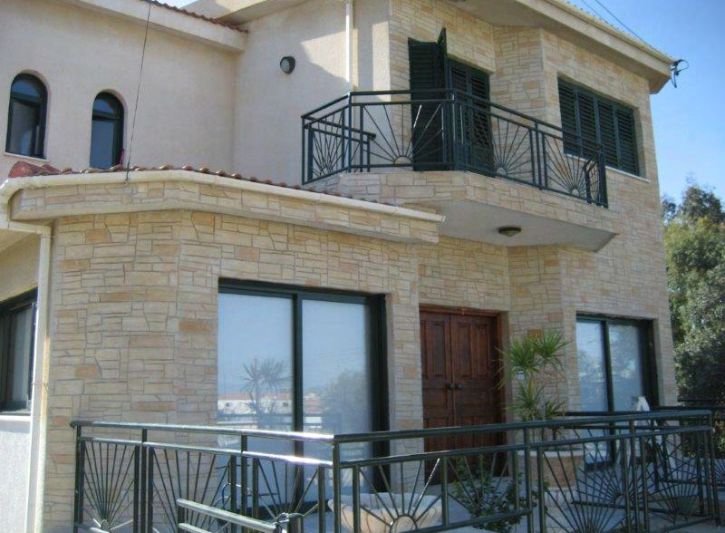
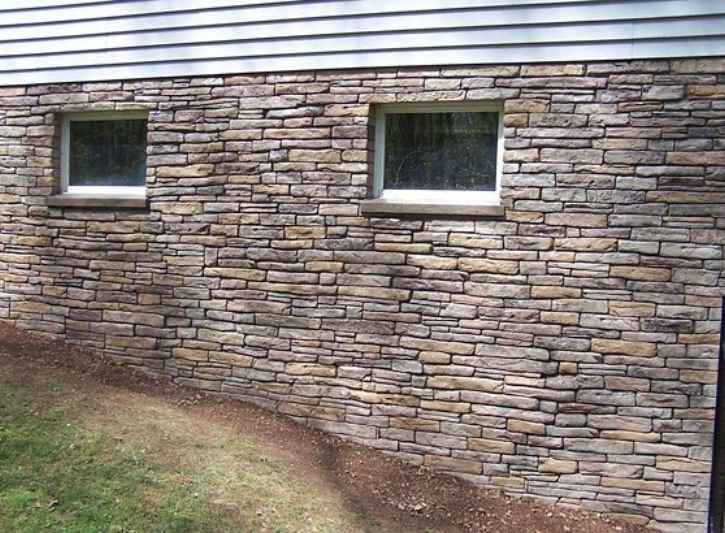
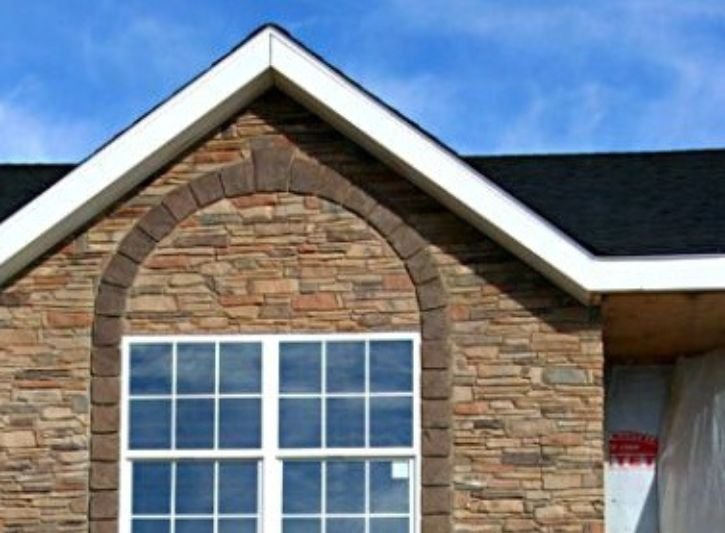
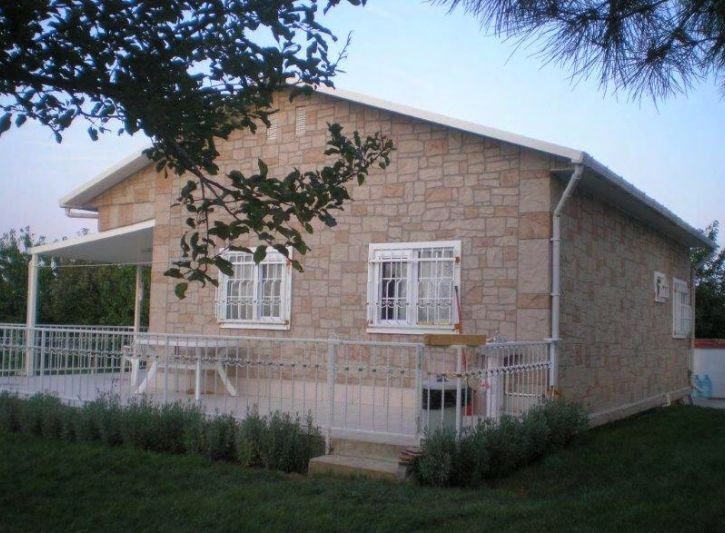
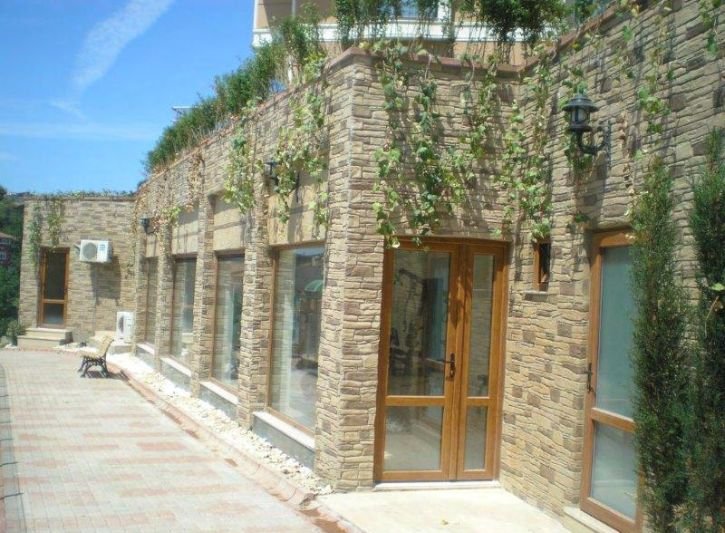
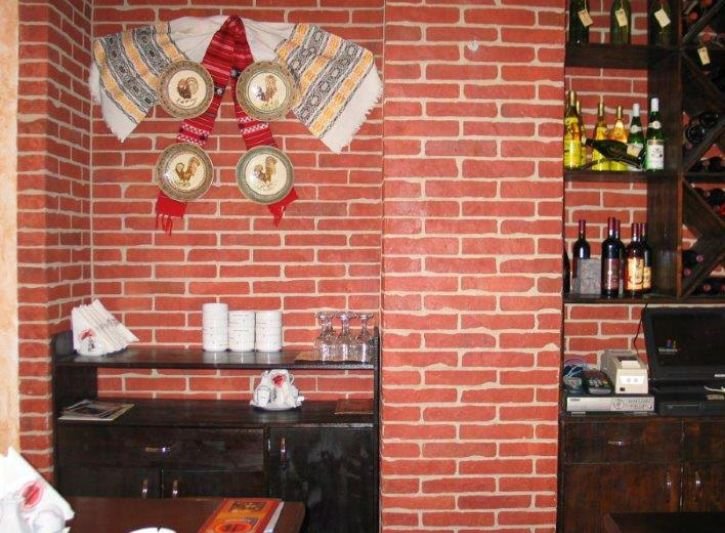
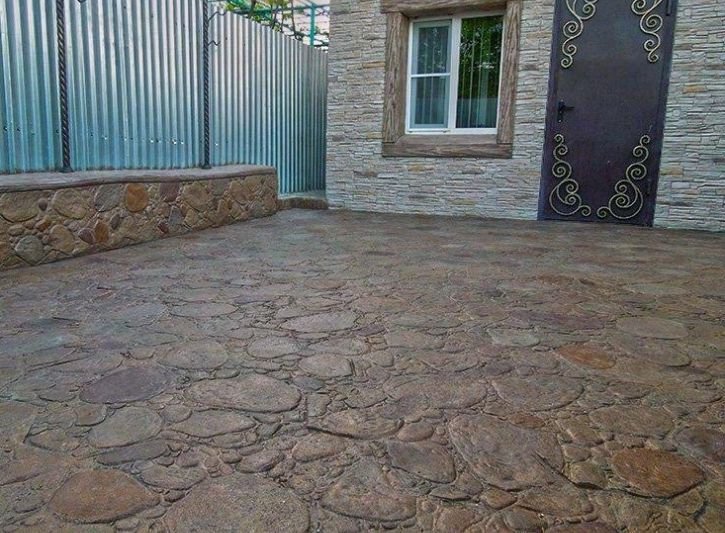
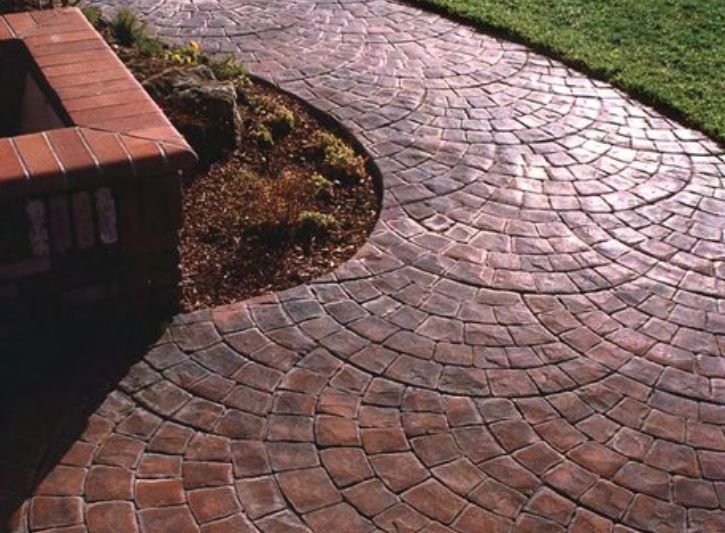
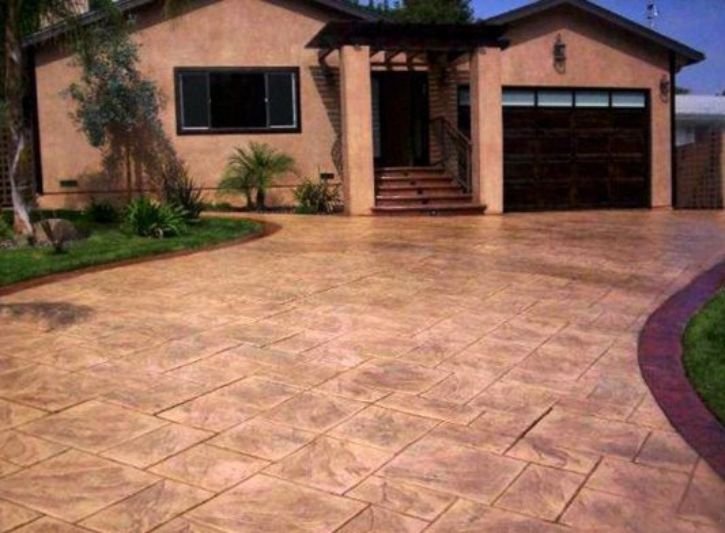
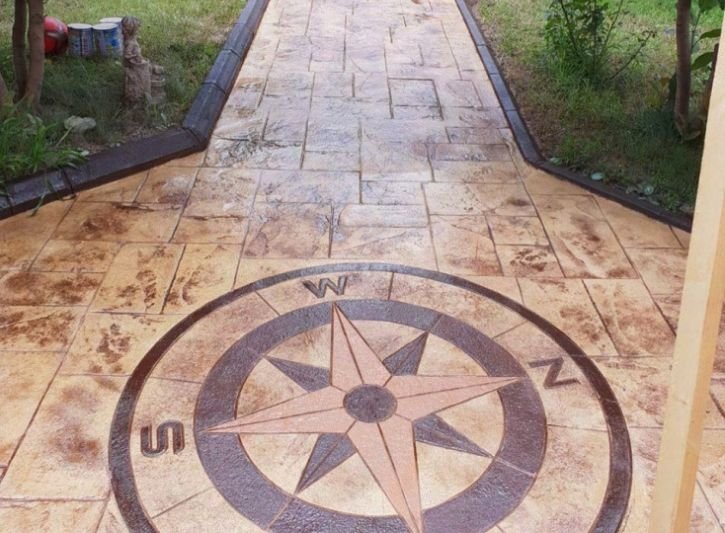
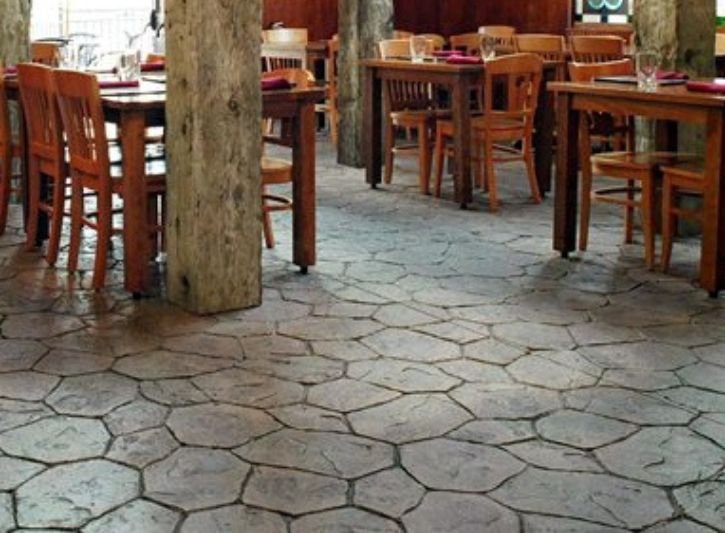
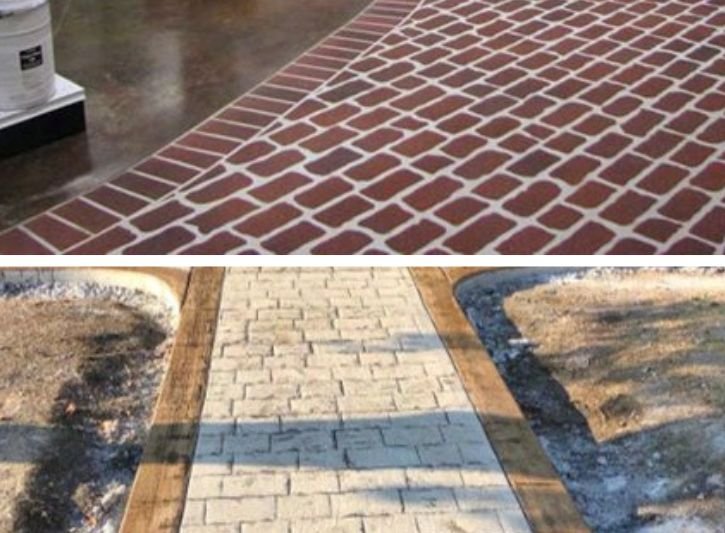
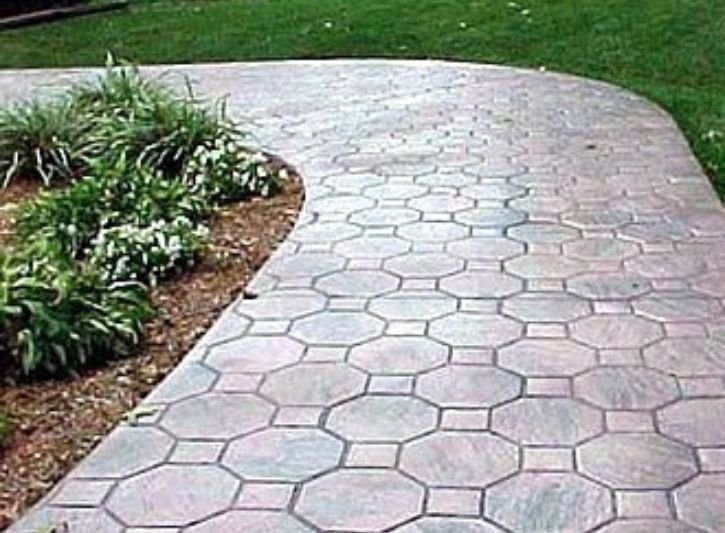
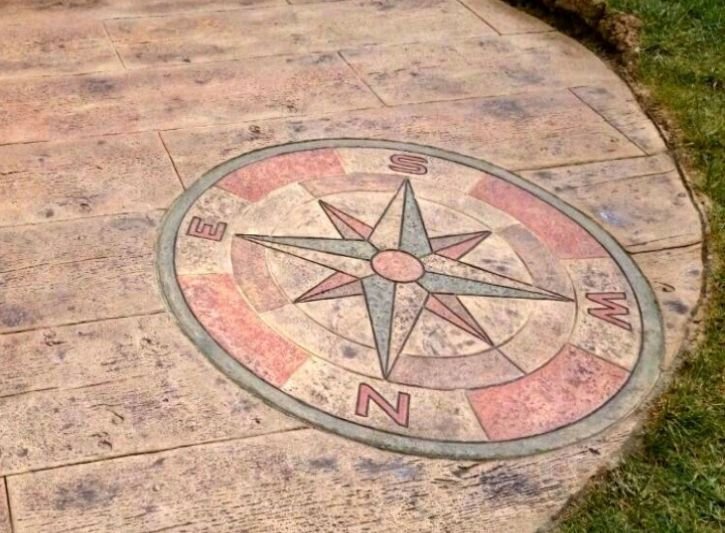
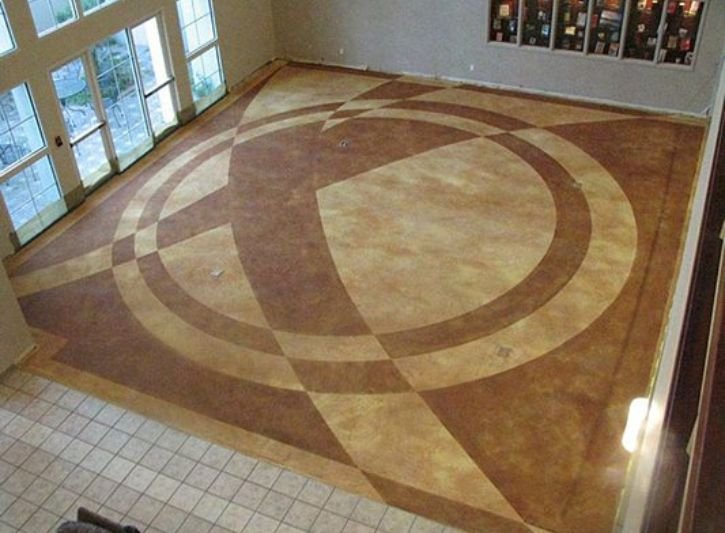
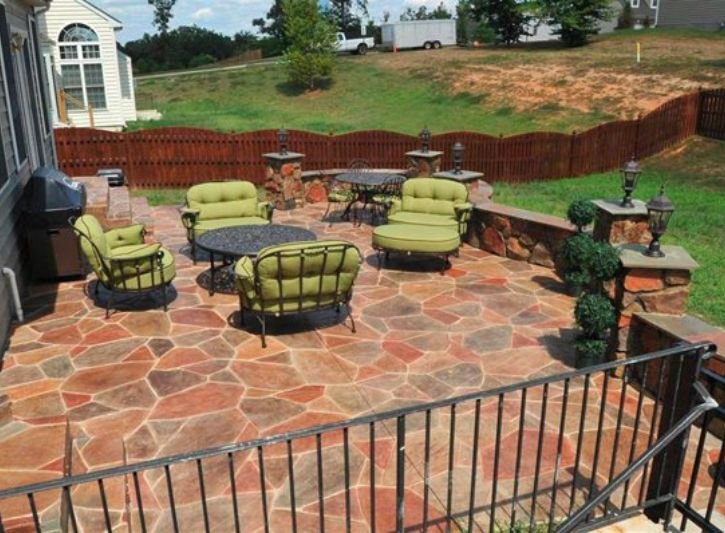
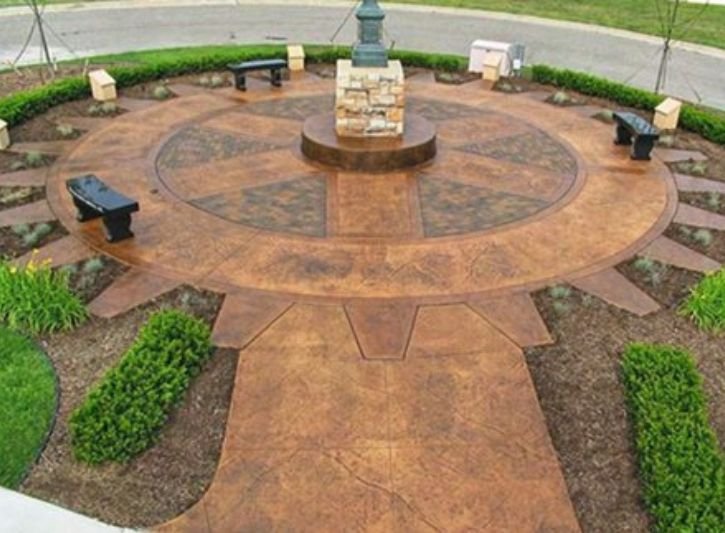
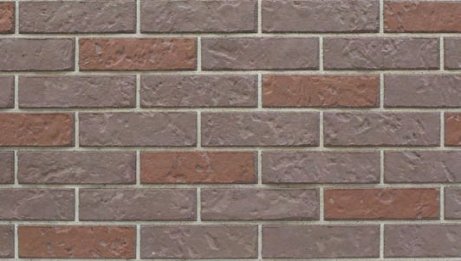
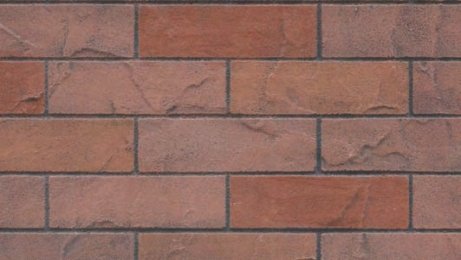
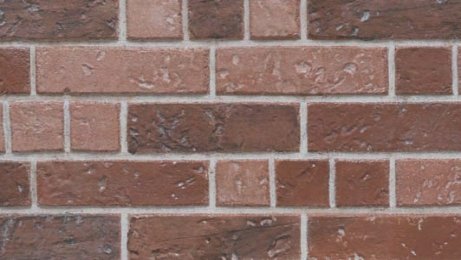
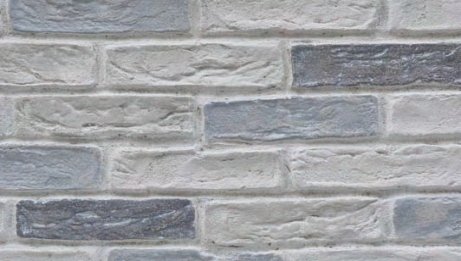
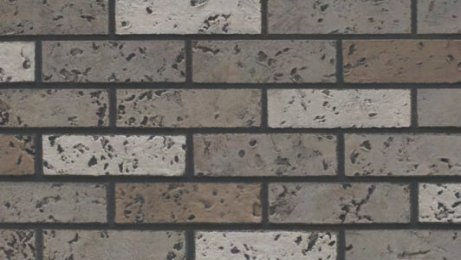
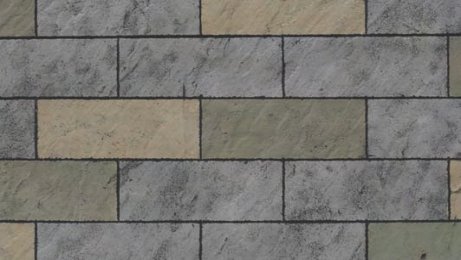
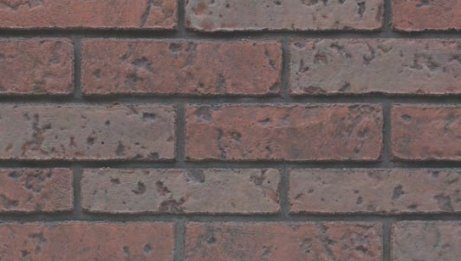
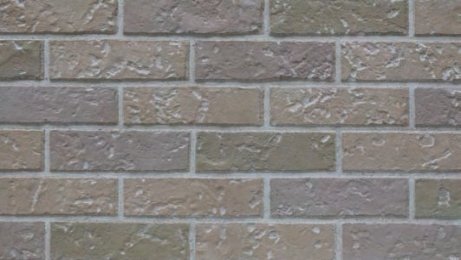
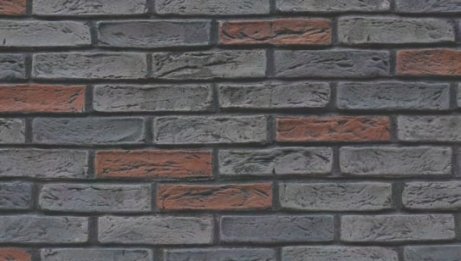
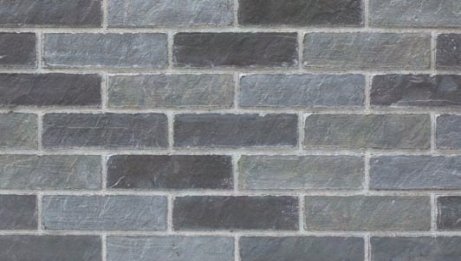
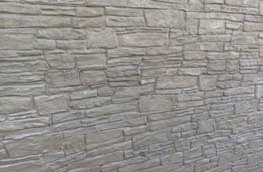
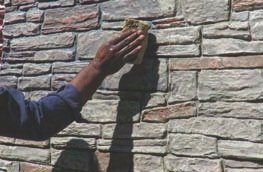
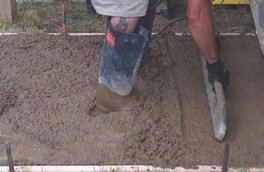
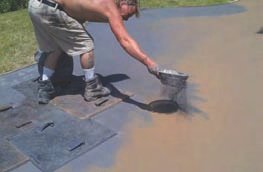
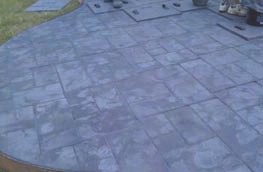
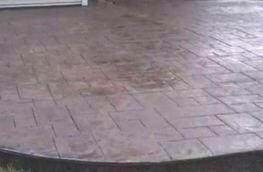
FLAX-C-MENT – Stone effects THE STAMPED CONCRETE: As the name signifies, Decorcem is a ready-mix concrete which adds beauty and drama to concrete floors, sidewalks, driveways, and other horizontal surfaces. It also beautifies and enhances the vertical surfaces, such as the walls of interiors and exteriors of our home, commercial places, landscapes, etc. All this is done by using the plastering, texturing, and colouring techniques to create structures, which exactly replicate natural stones, wood, bricks, and blocks.
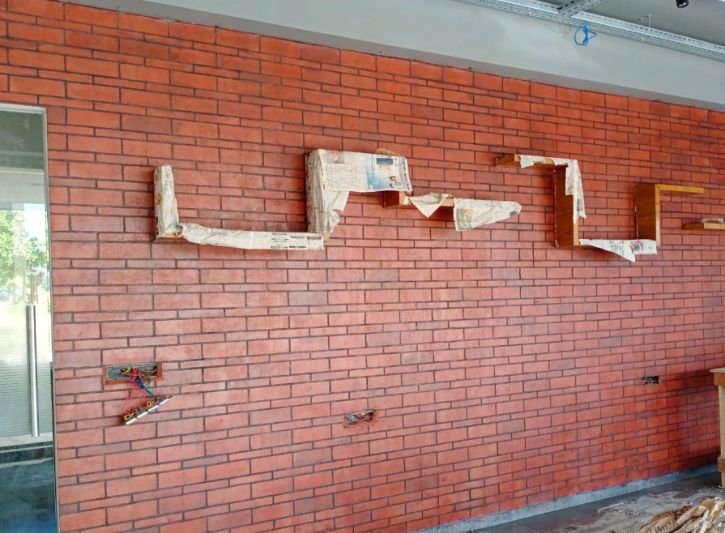
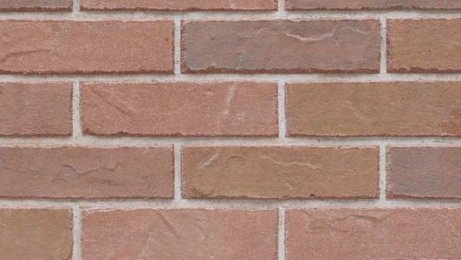
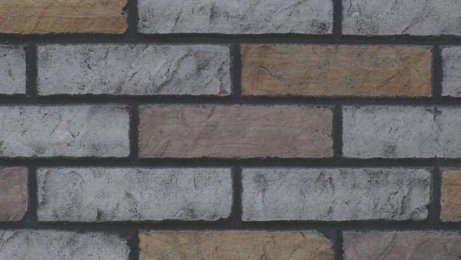
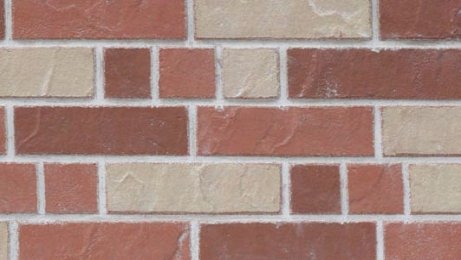
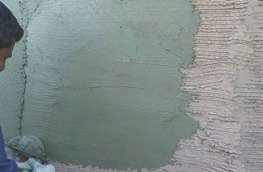
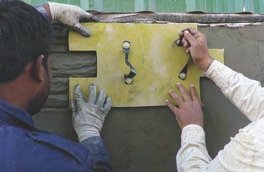
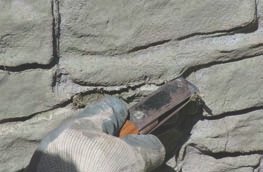
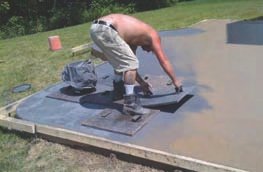
In broad FLAX-C-MENT is a methodology involving special material, workmanship, special tools, and techniques to create deep textured very realistic model bricks, stones, and wood grain patterns. The special material includes the "Wall Overlay System". The lightweight concrete & "Floor Overlay System": The high dense concrete, available in various colours, which is applied by the highly skilled workers.
The application or installation is done with special tools, the plastered and stamped surfaces are then coloured randomly to bring the colours of natural stones & finally sealing the surface for long-term protection from external weather calamities.
TYPES OF OVERLAYS
WALL OVERLAYS
- Fireplace front
- Arched entryways
- Retaining walls
- Exterior walls
- Walls and partitions at parks and gardens
- Boundary walls
- Theme rooms in hotels and resorts
FLOOR OVERLAYS
- Driveways
- Parking Areas
- Jogging lanes
- Interior floors of rooms
- Porches
- Swimming pool areas
- Reception & waiting rooms of hotel lobbies
Floor overlays are highly dense & strong materials available in many natural colours. The stamped floor mix is randomly coloured and made to look antique.
The floor mix is sprinkled over the freshly poured concrete, which is then stamped to obtain the stone effects. Such stamped stones are then coloured randomly and made to look antique. The stamped floors are finally sealed for long-term protection.
WALL OVERLAYS
SW-001
GROOVED- STAMPED
APPLICABLE - WALL
THICKNESS - 20-25 MM
SW-002
GROOVED - STAMPED
APPLICABLE - WALL
THICKNESS - 15-20 MM
SW-003
GROOVED- STAMPED
APPLICABLE - WALL
THICKNESS - 15-20 MM
SW-004
GROOVED- STAMPED
APPLICABLE - WALL
THICKNESS - 15-20 MM
SW-005
GROOVED - STAMPED
APPLICABLE - WALL
THICKNESS - 15-20 MM
SW-006
GROOVED- STAMPED
APPLICABLE - WALL
THICKNESS - 15-20 MM
SB-104
GROOVED- 6 - 9 -12 MM TAPING
APPLICABLE - WALL
THICKNESS - 3-7 MM
SB-104
GROOVED- 6 - 9 -12 MM TAPING
APPLICABLE - WALL
THICKNESS - 3-7 MM
FLOOR OVERLAYS
SF-001
GROOVED- STAMPED
APPLICABLE - FLOOR
THICKNESS - 20-25 MM
SF-002
GROOVED- STAMPED
APPLICABLE - FLOOR
THICKNESS - 20-25 MM
SF-003
GROOVED- STAMPED
APPLICABLE - FLOOR
THICKNESS - 15-20 MM
SF-005
GROOVED- STAMPED
APPLICABLE - FLOOR
THICKNESS - 20-25 MM
SF-006
GROOVED- STAMPED
APPLICABLE - FLOOR
THICKNESS - 20-25 MM
SF-007
GROOVED- STAMPED
APPLICABLE - FLOOR
THICKNESS - 20-25 MM
SF-008/009
GROOVED- STAMPED
APPLICABLE - FLOOR
THICKNESS - 15-20 MM
SF-010
GROOVED- STAMPED
APPLICABLE - FLOOR
THICKNESS - 15-20 MM
SF-011
GROOVED- STAMPED
APPLICABLE - FLOOR
THICKNESS - 15-20 MM
SF-101
GROOVED- SKIN
APPLICABLE - FLOOR
THICKNESS - 10-15 MM
SF-102
GROOVED- SKIN/HAND CURVE
APPLICABLE - FLOOR
THICKNESS - 10-15 MM
SF-103
GROOVED- SKIN
APPLICABLE - FLOOR
THICKNESS - 10-15 MM
SF-101
GROOVED- SKIN
APPLICABLE - FLOOR
THICKNESS - 10-15 MM
SF-102
GROOVED- SKIN/HAND CURVE
APPLICABLE - FLOOR
THICKNESS - 10-15 MM
SF-103
GROOVED- SKIN
APPLICABLE - FLOOR
THICKNESS - 10-15 MM
BRICKS
SB-105
SB-106
SB-107
SB-108
SB-109
SB-110
SB-111
SB-112
SB-113
SB-114
SB-115
SB-116
SB-117
SB-118
SB-119
SB-120
SB-121
SB-122
APPLICATION PROCESS ON WALL
STEP-1
Preparing wall for scratch coat
Plaster/concrete wall
STEP-2
Load thin material on wall
STEP-3
Draw scratch coat
STEP-4
Remove excess material
STEP-5
Load material as plaster for stamping in required thickness
STEP-6
Stamping Dye in interlocking manner
STEP-7
Completed Stamping
STEP-8
Scrapping excess material
STEP-9
Applying accent enhancer
STEP-10
Applying colours randomly
STEP-11
Washing with colour to achieve antique look
STEP-12
Final view
APPLICATION PROCESS ON FlOOR
STEP-1
Raw space
STEP-2
PCC flooring
STEP-3
PCC Leveling
STEP-4
PCC finishing
STEP-5
Sprinkling colour hardner
STEP-6
Stamping
STEP-7
Stamping
STEP-8
Finishing stamping
STEP-9
Final view of stamping
STEP-10
Colouring or washing & eaching
STEP-11
Final view after top coating